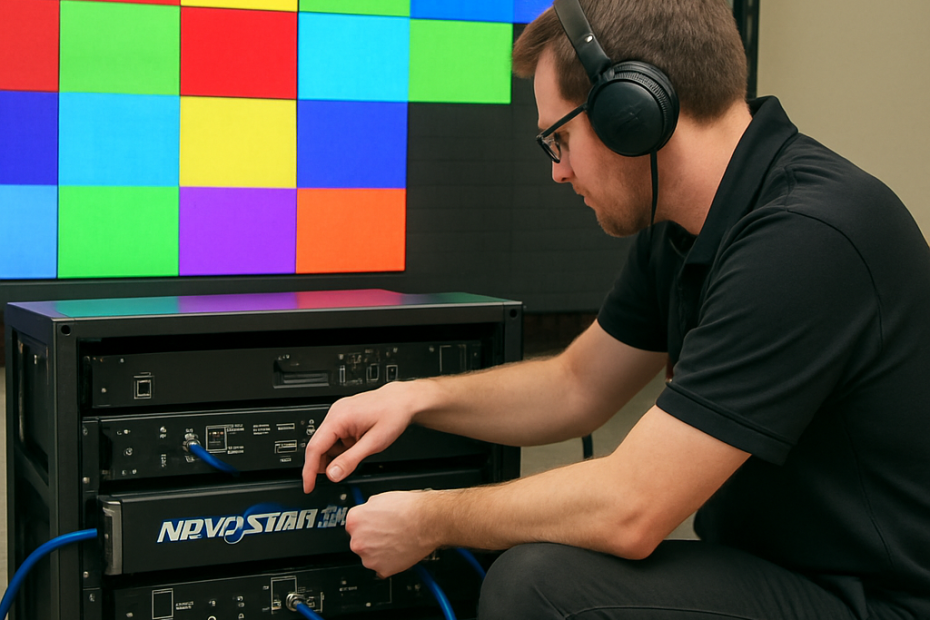
Whether you are setting up a massive digital billboard for a retail space, a vibrant backdrop for a live concert, or an immersive broadcast studio, a dependable control system is the heartbeat of your display. In the world of LED technology, Novastar has established itself as the undisputed industry standard.
If you have recently acquired a system or are planning an upcoming project, mastering the hardware and software is essential. This comprehensive novastar led video wall guide will walk you through the entire process, from understanding the core components and executing a flawless video wall installation to advanced configuration and troubleshooting.
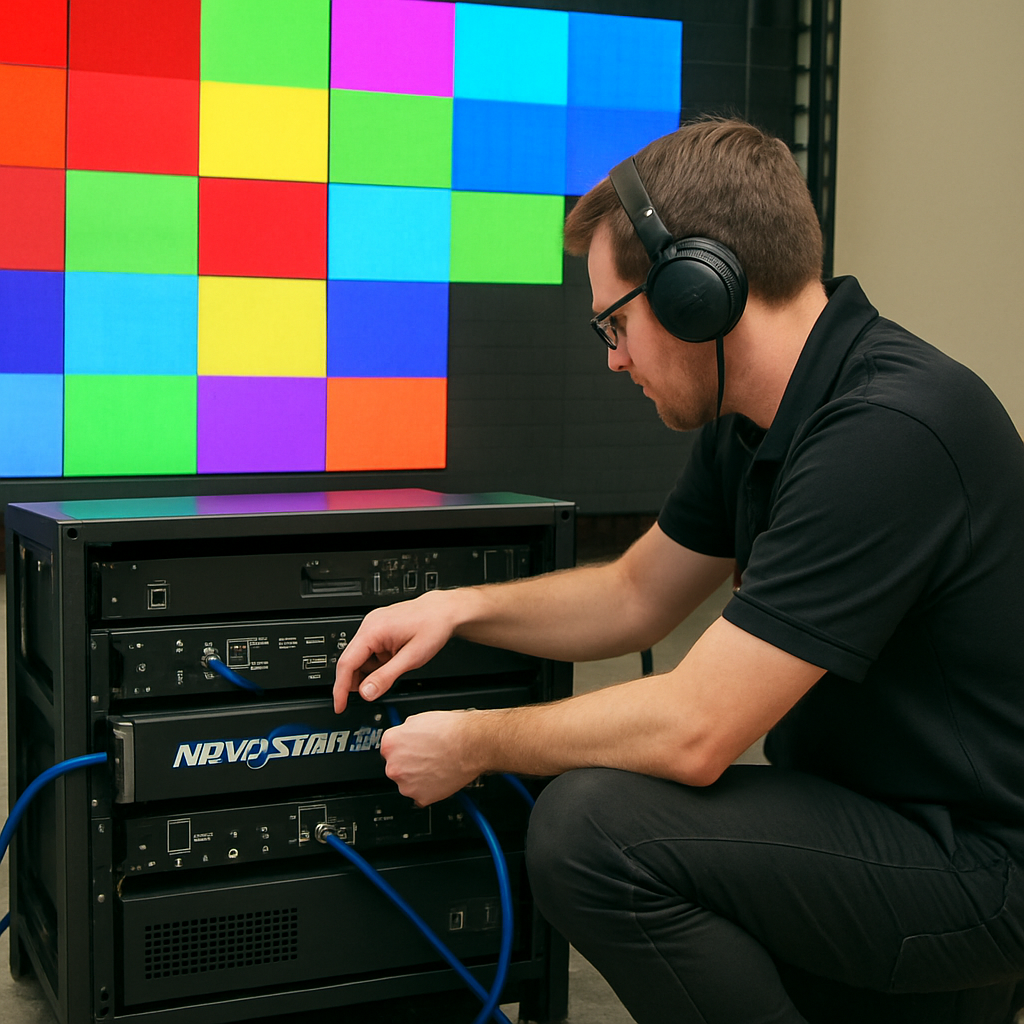
Understanding the Novastar Ecosystem
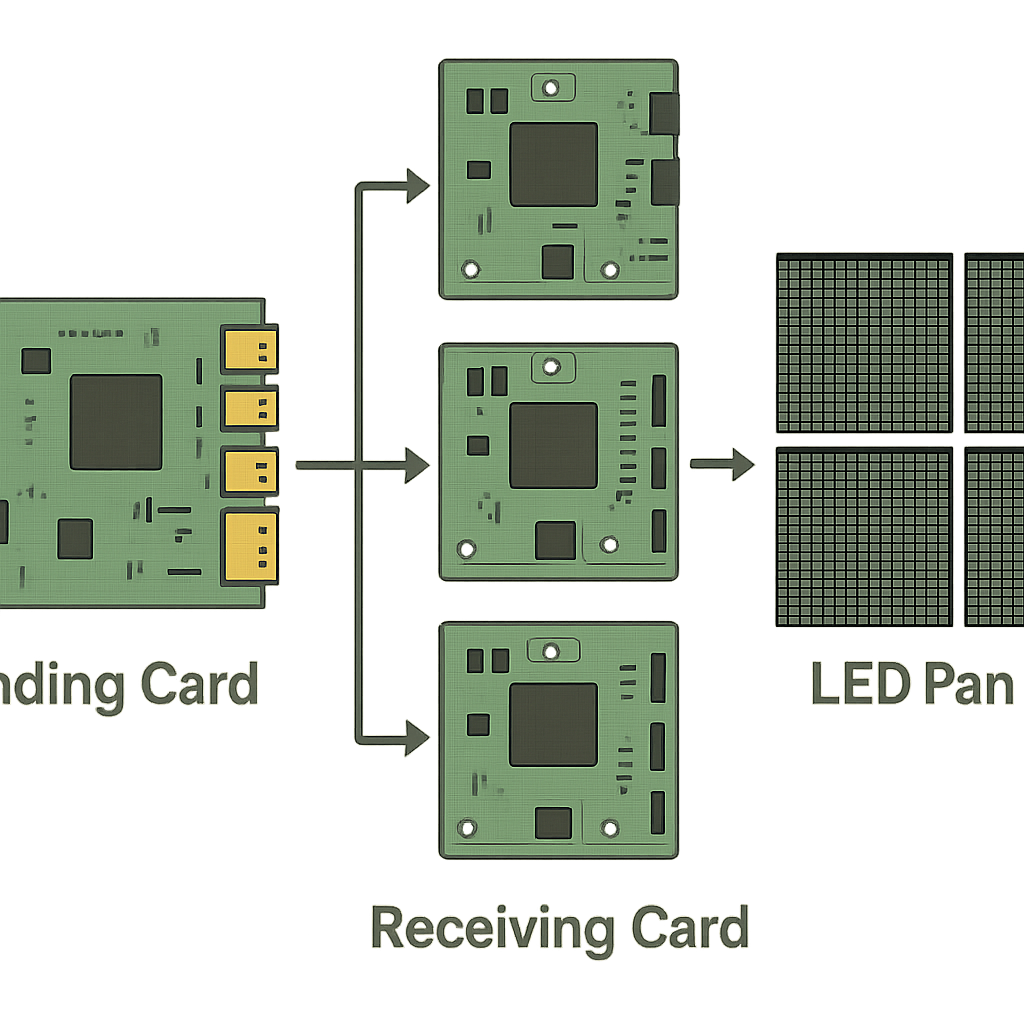
Before plugging in any cables, it is crucial to understand how a novastar video wall actually works. The architecture generally consists of three main elements: the sending controller (or processor), the receiving cards (located inside the LED cabinets), and the control software (NovaLCT).
Synchronous vs Asynchronous Control Systems
One of the first decisions you will make is choosing between synchronous vs asynchronous control systems.
- Synchronous Systems: These controllers display exactly what is on your computer or video source in real-time, much like a standard computer monitor. They are ideal for live events, broadcast studios, and e-sports where real-time video feed is required.
- Asynchronous Systems: These controllers have built-in memory and media players. You upload your content (videos, images, text) to the controller via Wi-Fi, USB, or cloud networks, and the system plays it back independently. This is perfect for roadside billboards and retail window displays where a dedicated PC is not feasible.
Novastar vs Colorlight Comparison
While planning your hardware purchase, you might come across competing brands. A common debate in the AV community is the Novastar vs Colorlight comparison. Both brands offer excellent LED control solutions, but Novastar often takes the lead due to its highly intuitive user interface, broader global support network, and an extensive range of hardware that easily scales from small shop signs to massive stadium screens. Novastar’s NovaLCT software is widely considered more robust for intricate mapping and advanced calibration tasks.
Selecting the Right Hardware
When selecting a brain for your display, you need to look at modern high-definition sending card features. Today’s premium sending cards and all-in-one controllers offer scaling, multiple inputs (HDMI, DisplayPort, SDI), and Genlock capabilities.
If you are working in the live production industry, investing in a professional LED processor for rental events—such as the Novastar VX6s, NovaPro UHD Jr, or the MCTRL4K—is highly recommended. These units are built to withstand the rigors of touring and offer low latency 4K video processing, ensuring that live camera feeds sync perfectly with the audio, avoiding the dreaded “lip-sync” delay during live performances.
Step-by-Step NovaLCT Software Configuration Tutorial
Once your physical video wall installation is complete—meaning all cabinets are bolted together, power cables are chained, and Ethernet data cables are looped from cabinet to cabinet—it is time to bring the wall to life.
This NovaLCT software configuration tutorial covers the critical steps to get your screen up and running.
1. Connecting and Logging In
- Connect your Novastar sending card to your PC via USB.
- Connect your video source (HDMI/DP) to the sending card.
- Open the NovaLCT software.
- Click on “User” in the top menu and select “Advanced Synchronous System User Login” (the default password is usually admin).
2. Configuring Receiving Card RCFG Files
The receiving card inside each LED cabinet needs to know the exact physical properties of the LED modules it is driving. This is where configuring receiving card RCFG files becomes critical.
- Navigate to the “Screen Configuration” tab and select the “Receiving Card” tab.
- If your LED manufacturer provided an .rcfg or .rcfgx file, click “Load from File” and apply it.
- This file dictates the resolution of the individual cabinet, the scan rate, and the specific IC driver settings. Sending the correct RCFG file to the hardware ensures your panels display a cohesive image rather than scrambled lines. Once loaded, click “Send to Receiving Card” and then “Save”.
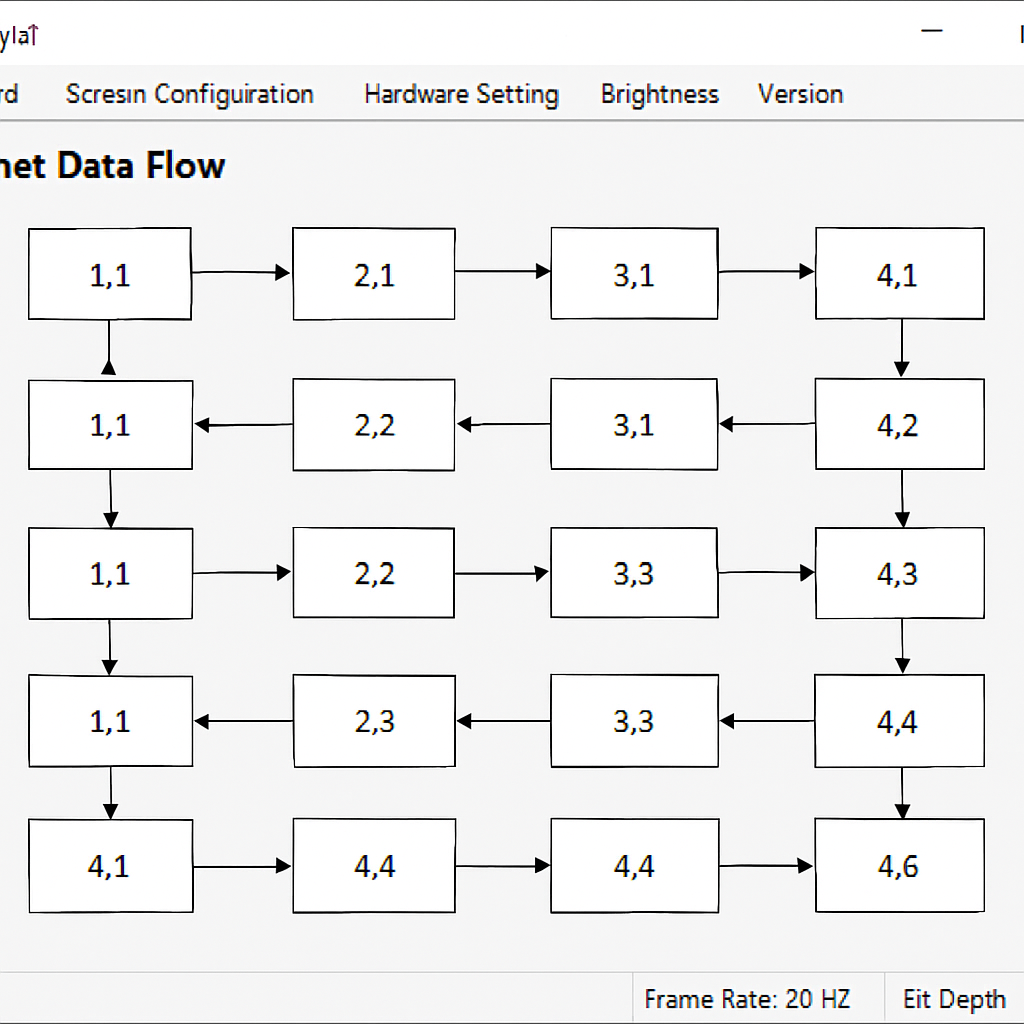
3. Cabinet Data Flow Mapping Instructions
The system now knows what your cabinets look like, but it does not know how they are arranged or wired together.
- Go to the “Screen Connection” tab.
- Here, you will input the number of columns and rows that make up your video wall.
- Follow the cabinet data flow mapping instructions: you must draw the exact path your Ethernet cable takes from the sending card to the first cabinet, the second, and so on. Whether you used an “S-route”, “U-route”, or a simple straight line, the software mapping must perfectly mirror the physical wiring.
- Once mapped, click “Send to HW” (Hardware) and your video wall should suddenly display your computer’s desktop perfectly mapped across the entire surface.
Advanced Features for Flawless Visuals
Getting an image on the screen is only half the battle. To make your display look truly professional, you need to leverage Novastar’s advanced image processing capabilities.
Pixel-Level Calibration for Color Uniformity
Over time, or when mixing LED batches, you might notice slight variations in color or brightness across different panels. Utilizing Novastar’s calibration software in conjunction with a specialized camera allows for pixel-level calibration for color uniformity. The software analyzes every single LED diode and applies microscopic adjustments to eliminate “patchy” or “checkerboard” effects, resulting in a perfectly smooth, uniform canvas.
Optimizing Refresh Rates for Broadcast Screens
If your video wall is going to be filmed by video cameras—such as in a news studio, a corporate broadcast, or a church stream—you must pay attention to the refresh rate. A low refresh rate will cause ugly black scan lines to roll across the screen on camera. By diving into the receiving card settings in NovaLCT, you can focus on optimizing refresh rates for broadcast screens. Pushing the refresh rate to 3840Hz or higher ensures that digital cameras capture a solid, flicker-free image.
Smart Brightness Adjustment Sensor Setup
An outdoor video wall needs to be blindingly bright during the day to combat the sun, but that same brightness will blind drivers and pedestrians at night. Implementing a smart brightness adjustment sensor setup (using hardware like the Novastar NS060 light sensor) solves this. Once plugged into the sending card or a multifunctional card, you can configure NovaLCT to read the ambient light levels and automatically adjust the screen’s brightness on a dynamic curve, saving energy and extending the lifespan of your LEDs.
Securing Your System with Backup Strategies
In high-stakes environments like live television or major stadium concerts, a screen failure is catastrophic. Implementing robust backup protocols is non-negotiable.
Novastar systems excel in providing data redundancy backup for large screens. By utilizing the primary and backup Ethernet ports on your sending card, you can run a secondary data cable to the end of your video wall chain. In NovaLCT, you can configure this as a loop backup. If a data cable gets severed or a receiving card fails in the middle of the wall, the data instantly reverses direction from the backup cable, keeping the rest of the screen live without a single frame of dropped video. For ultimate security, larger productions will even use dual sending cards (a primary and a hot backup) to ensure total system redundancy.
LED Display Controller Troubleshooting
Even with the best hardware, technical hiccups can occur. Mastering LED display controller troubleshooting will save you time and stress. Here are the most common issues and how to resolve them.
Fixing LED Screen Flickering and Signal Loss
If portions of your screen are blinking or losing signal intermittently, the culprit is rarely the screen itself. Fixing LED screen flickering and signal loss usually comes down to three things:
- Faulty Ethernet Cables: A damaged Cat5e/Cat6 cable or a loose RJ45 connector is the #1 cause of data interruption. Swap out the cable bridging the flickering cabinet to the one preceding it.
- Cable Length Limits: Standard Ethernet data starts degrading after 100 meters. If your processor is further away than that, you must use fiber optic converters (like the Novastar CVT310/CVT320).
- Video Source Instability: If the entire wall is flickering, check the HDMI or SDI input going into the sending card. A poor-quality video cable will cause the sending card to lose sync with the source.
Diagnosing Black Screen on LED Panels
Walking into a venue to find a completely dead section of your wall is panic-inducing. When diagnosing black screen on LED panels, follow this logical checklist:
- Power Supply: Verify that the black cabinet is receiving AC power. Look at the indicator lights on the back of the cabinet. If there are no lights, check your power distribution and powerCON cables.
- Receiving Card Failure: If the cabinet has power (the power supply fan is spinning) but no data, the internal receiving card might have failed or lost its firmware. Try sending the RCFG file to that specific cabinet again.
- Mapping Errors: If a firmware update or power surge caused the wall to reset, the mapping might be off. Re-send your screen connection mapping from NovaLCT.
Conclusion
Building and managing a novastar video wall does not have to be an intimidating task. By understanding the hardware architecture, mastering the essential steps of NovaLCT, and familiarizing yourself with advanced features like pixel calibration and smart brightness, you can deliver breathtaking visual experiences every time.
Remember that a successful setup relies just as heavily on meticulous physical video wall installation as it does on software programming. Always keep your configuration files backed up, utilize data redundancy loops for critical events, and approach troubleshooting with a calm, step-by-step mindset. With Novastar’s powerful ecosystem at your fingertips, the creative possibilities for your LED displays are truly limitless.
💡 Looking for a Complete LED Display Solution?
Choosing the right Novastar controller is only one part of a successful LED display project. The performance of the LED screen, system integration, and overall configuration also play a critical role.
If you’re working on an LED display or video wall project, feel free to reach out — we’re happy to share practical suggestions based on your application.