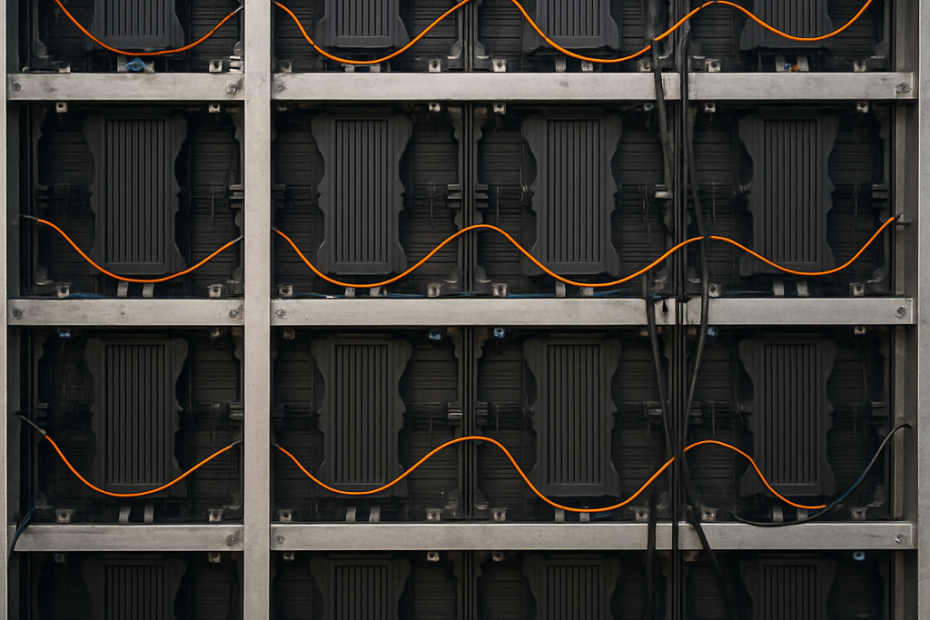
If you have started searching for an indoor LED display, you have likely noticed a confusing reality: one screen costs the price of a used car, while another of the exact same size costs as much as a luxury home. Buying professional tech isn’t like picking a TV off a shelf; it is more like building a custom kitchen where you pay for layout, materials, and installation.
Most buyers assume “LED” always means the same thing, but there is a fundamental difference in technology. While a home TV simply uses a backlight, professional Direct View LED screens use millions of tiny, individual light bulbs acting as the pixels themselves. Think of this like buying high-grade tiles rather than a pre-framed painting; you are purchasing modular panels that snap together to create a custom system.
Because these displays are built from components, physical size is actually the least reliable indicator of the final indoor led display screen price. Industry standards suggest that pixel density—how close those tiny lights are to each other—can triple a project’s led screen price without changing its dimensions. Breaking down this “black box” allows you to identify exactly where your budget goes.
The ‘Step Back’ Rule: How Viewing Distance Dictates Your Pixel Pitch Cost
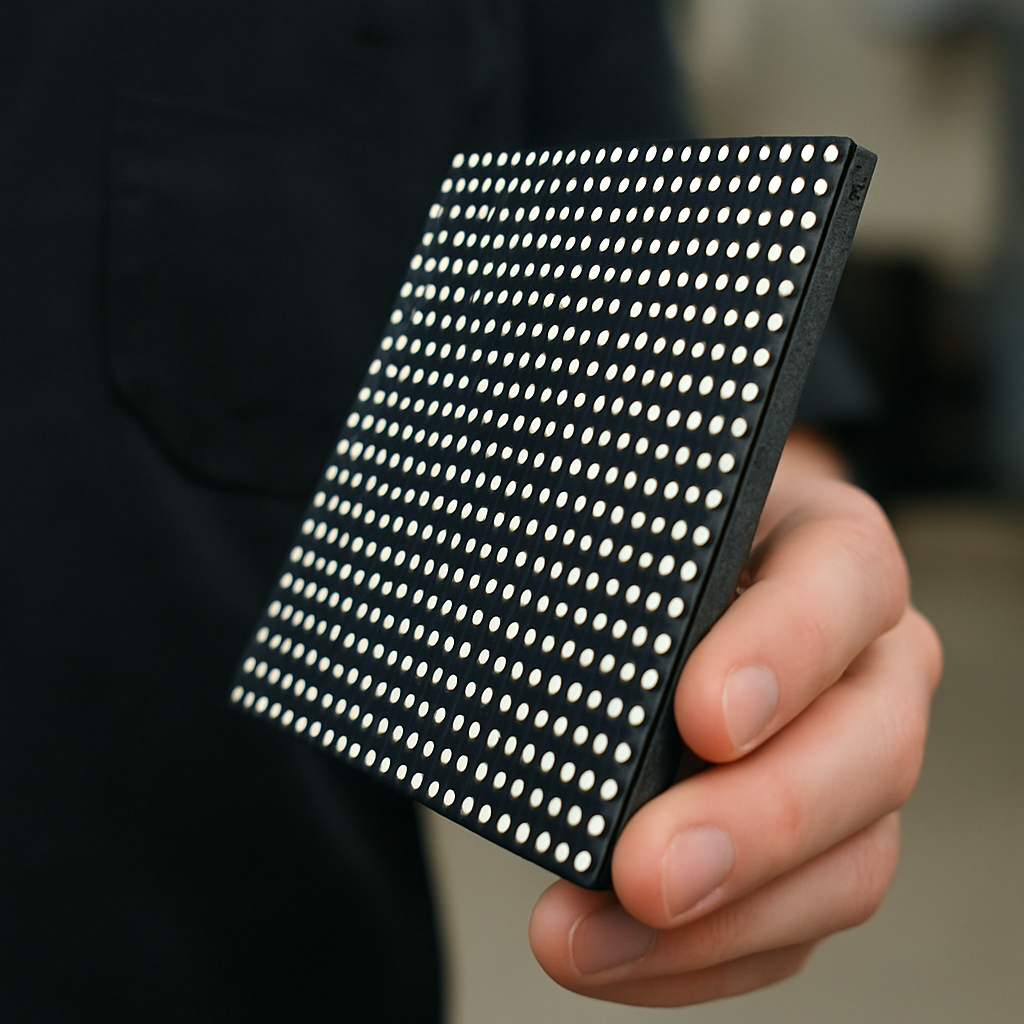
Placing two 10-foot wide LED walls side-by-side often reveals a paradox: they look identical from across a large auditorium, yet one costs $15,000 and the other $45,000. This massive price difference usually comes down to a single metric called pixel pitch, which measures the density of the light dots (pixels) on the display. In the world of commercial LED, tighter density equals higher resolution, but it also exponentially increases the number of physical components required to build the screen.
Think of pixel pitch like the thread count in luxury sheets; a lower number means a tighter weave and a smoother image. Manufacturers rate this in millimeters (mm), representing the physical gap between the center of one pixel and the next. A 1.2mm screen packs LEDs incredibly close together for a crisp image even when you are standing right in front of it, while a 3.9mm screen has larger gaps that are noticeable up close but blend perfectly once you step back.
Selecting the right pitch is the fastest way to control your indoor led display price without sacrificing quality for your specific audience. A simple industry standard to follow is that for every millimeter of pitch, the viewer should be at least one meter (roughly 3 feet) away to see a clear image. If your closest audience member sits 15 feet away (about 5 meters), paying a premium for a high-density 1.5mm display is a waste of budget because a significantly cheaper 3.9mm option will look just as sharp to them.
This distance-to-cost relationship prevents you from over-investing in clarity that your viewers literally cannot see. However, balancing density against the physical dimensions of your wall creates a new challenge: sometimes a smaller, high-density screen is actually more expensive than a massive, lower-resolution wall.
Resolution vs. Real Estate: Why a Smaller Screen Can Cost More Than a Massive One
Many assume that doubling the size of a digital wall doubles the cost, but in the commercial LED market, the math is rarely that linear. The primary driver of an indoor led display screen price is the total quantity of light diodes required, not the square footage of the steel frame. A compact boardroom display designed for viewing complex data often packs in millions more pixels than a massive stage backdrop used for concerts. This is because “fine pitch” displays require thousands of delicate components per square inch, making them significantly more complex to manufacture than larger, lower-resolution counterparts.
Choosing between these options requires analyzing your actual content needs rather than just available wall space. If you need to display crisp Excel spreadsheets or 4K architectural drawings in a corporate lobby, you are entering the territory of fine pitch technology, which commands a premium price tag. However, if your goal is simply to show bold logos or ambient video graphics, forcing 4K resolution onto a wall is a financial error; you are paying for density that adds no visible value to simple imagery.
Beyond the initial purchase, pixel density also dictates how fragile your investment will be. Extremely tight pixel pitches leave little room for protective resin, often leading to higher fine pitch screen maintenance expenses if the display is installed in a high-traffic area where people might accidentally touch it. Understanding where your screen sits on the durability spectrum is crucial, as different manufacturing technologies offer varying levels of protection against physical damage.
Choosing Your Tech: Why SMD vs. COB Durability Affects Long-Term Value
Examining a standard LED wall closely reveals a textured surface made of thousands of tiny, individual light packages soldered onto the board. Traditional Surface Mounted Device (SMD) technology offers excellent color performance but leaves the delicate diodes exposed. A backpack brushing against the screen in a busy hallway or a curious hand in a lobby can easily knock these components loose, turning a budget-friendly option into a maintenance headache.
Chip on Board (COB) technology solves this vulnerability by bonding the LED chips directly to the circuit board and sealing them behind a smooth, protective resin. This creates a seamless surface that feels much like a tablet screen, offering high resistance to impact, dust, and moisture. For high-traffic areas where people might bump into the display, this protective armor effectively “child-proofs” your investment against accidental damage that would otherwise require expensive repairs.
That added protection significantly influences the final indoor led display price, often carrying a premium over standard models. If your screen will be mounted ten feet high in an unreachable locati0n, paying extra for impact resistance provides no functional benefit, making standard SMD the more logical choice for your budget. With physical durability decided, you must next consider how the screen handles specific lighting environments and video cameras.
Brightness and Smoothness: Paying for ‘Eye Comfort’ with Nits and Refresh Rates
While physical protection keeps the screen safe, the ambient light in your room dictates whether the image is actually visible. LED brightness is measured in “nits,” and choosing optimal brightness for indoor environments is the difference between a vibrant display and a washed-out gray rectangle. A standard corporate lobby usually needs around 600 to 800 nits to combat overhead fluorescents, whereas a window-facing retail display fighting direct sunlight requires significantly more intensity. Buying a high-brightness model for a dim interior is not only a waste of budget but can actually be painful for viewers to look at.
Visual comfort extends beyond brightness into how fast the screen redraws the image, a specification known as refresh rate (Hz). Anyone who has pointed a phone at a TV and seen distracting black lines rolling down the screen has witnessed how refresh rate affects video quality and social media sharing. For venues that live stream events or encourage guests to take photos, investing in a high refresh rate—typically 3,840Hz or higher—is mandatory to ensure the content looks as crisp on camera as it does in person.
Balancing these optical specifications helps you avoid paying for sunlight-grade hardware in a dim studio or broadcast-ready speed for a simple static sign. Once you have selected the right panel technology to match your environment, the final price tag will be determined by the infrastructure required to hang and control it.
Beyond the Panel: Budgeting for the 30% in Hidden Installation Expenses
Focusing entirely on the price per panel ignores the reality that actual LED tiles typically account for only about 70% of the final invoice. To transform a stack of electronics into a functional video wall, you must budget for the “nervous system” and “skeleton” that support the display. Ignoring these hidden expenses in indoor display setup often leads to mid-project sticker shock when specialized hardware is required to make the screen turn on.
Just as a printer needs a driver to talk to your computer, an LED wall requires a dedicated processor—often called a sending box or controller—to interpret video signals. This external hardware takes your HDMI or SDI source and maps it across hundreds of individual tiles so the image looks cohesive. Be aware that control system compatibility and software licensing can add significant costs, especially if you need advanced features like HDR processing or complex multi-window layouts.
The physical installation provides the final hurdle, as these displays are heavy and require precision alignment to ensure no gaps exist between modules. Standard drywall cannot usually support the weight of a commercial wall, meaning you may need structural reinforcements or custom steel sub-frames for the architectural integration of seamless video walls.
To prevent budget overruns, ensure your project estimate includes these often-overlooked essentials:
- LED Controller/Processor: The brain that drives the visuals.
- Mounting System: Specialized bars or frames for wall or ceiling rigging.
- Power Distribution: Dedicated circuits to handle the electrical load.
- Data Cabling: High-quality CAT6 or fiber optic lines connecting tiles.
- Specialist Labor: Technicians trained to align modules to the millimeter.
Once the hardware is priced and the installation is planned, the final step is understanding the ongoing operational costs.
The Long Game: Calculating Maintenance, Energy, and Lifespan Costs
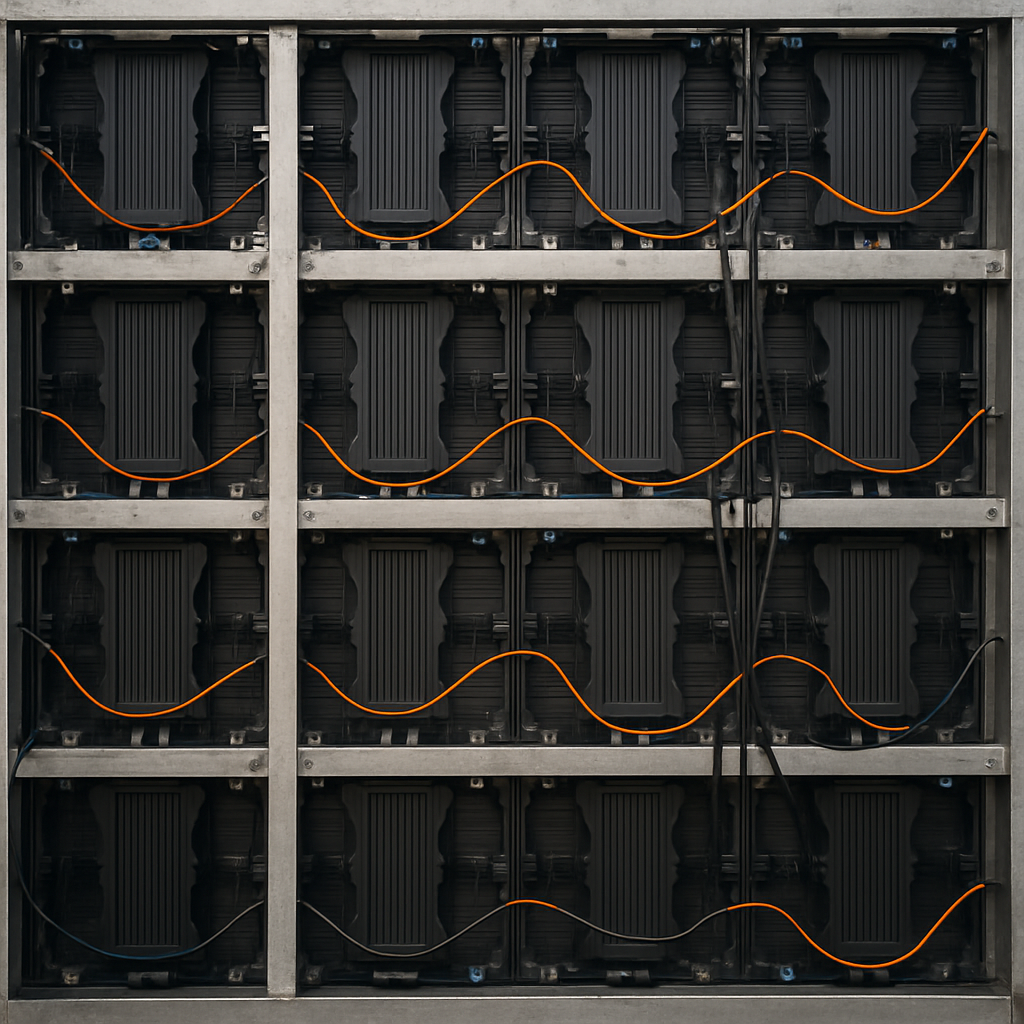
While the upfront price grabs attention, the total cost of ownership for commercial screens is heavily influenced by electricity usage over time. Since the energy consumption of large scale digital signage varies based on content—white backgrounds actually require far more power than black ones—smart visual design choices can significantly lower your monthly utility bills.
Future-proofing your investment requires a strategy known as “batch matching,” where you purchase extra spare modules from the same manufacturing run as your main screen. Because LED diodes shift color slightly as they age, buying a replacement part years later often creates a noticeable “patch” on the wall, leading to expensive module replacement and repair service fees to attempt to recalibrate the image.
Even with these running costs, the longevity of direct-view LED offers better value than tiled LCD monitors that often fail within five years. A well-maintained LED wall is rated for 100,000 hours—roughly a decade of service—which amortizes the capital expense into a manageable annual cost before you finalize your numbers in our final budgeting blueprint.
Your 3-Step Budget Blueprint: Finding the Sweet Spot Between Specs and Price
You no longer view LED pricing as a mystery. By applying the “Sweet Spot” formula—viewing distance plus ambient light—you avoid over-paying for invisible resolution. Whether comparing rental and permanent installation costs or planning a custom build, you ensure you pay only for the impact your audience actually sees.
Validate your specific quote by asking potential vendors these four diagnostic questions:
- What is the batch-matching policy for spare tiles?
- Is the video controller included in the base price?
- What is the power draw at average brightness?
- What is the warranty coverage on individual pixels?
Smart budgeting maps cost to the display’s lifespan, not just the sticker price. Knowing how to calculate LED video wall budget requirements turns a complex purchase into a transparent business asset. You now have the expertise to control the conversation and invest with absolute confidence.