Walk into a modern concert, and the first thing you notice isn’t the sound, but the immersive wall of light. Unlike traditional projectors that rely on reflected light, these displays don’t turn into gray ghosts when the house lights come on.
A stage video wall solves the “washed out” problem through active light emission. Tiny diodes shine directly at the audience to meet high brightness requirements, creating the deep blacks and contrast necessary for professional aesthetics. In the debate of LED vs projection for live music, this direct visibility is often the deciding factor for venue owners.
These screens function like digital building blocks rather than a single fixed monitor. Because the technology is modular, you can build columns, arches, or custom shapes that transform your venue into a dynamic digital backdrop.
The Lego Logic: How Modular LED Panels Create Any Screen Shape
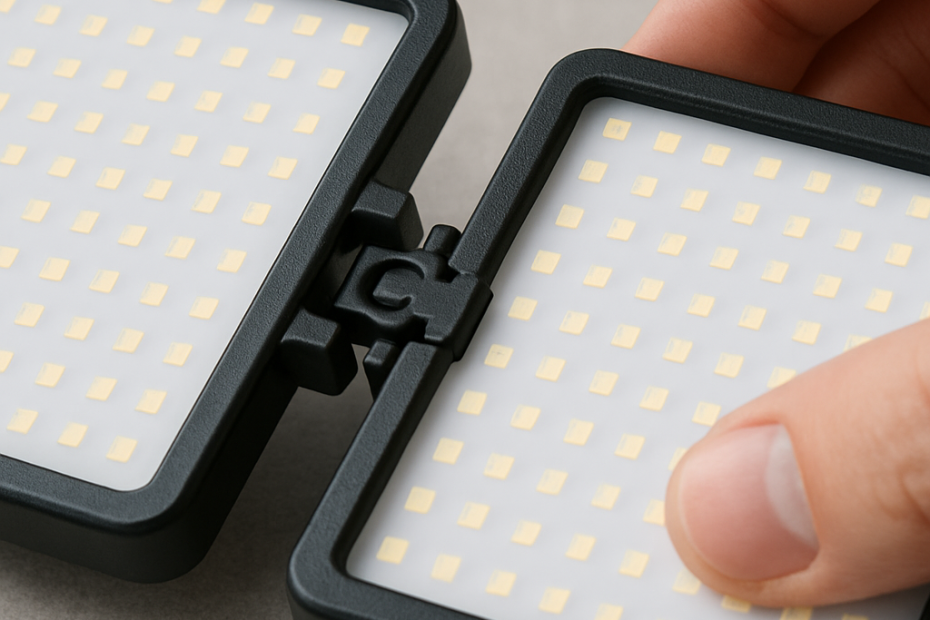
If you browse through led screen panels for sale, you might expect to find massive, single sheets of glass like a giant living room television. In reality, a stage video wall works more like a high-tech Lego set. The massive display you see at a conference is actually composed of smaller, square units called “cabinets” or modules that stack together to form any size or shape you need.
This design solves a major headache for venue owners: what happens when something breaks? With a standard TV, a cracked screen means replacing the entire unit, but modular LED panel maintenance is far more forgiving. If one section malfunctions, you simply pop that specific module out and swap in a spare without dismantling the rest of the wall or interrupting the show.
Despite being made of separate pieces, professional seamless screen mounting systems lock these cabinets together so tightly that the human eye cannot see the gaps once the power turns on. The result is a smooth, continuous image that flows across the stage, provided you have chosen the right resolution. That clarity depends entirely on something called “pixel pitch,” which determines how close your audience can sit before the image looks grainy.
Avoiding the ‘Screen Door’ Effect: Choosing the Right Pixel Pitch for Your Audience
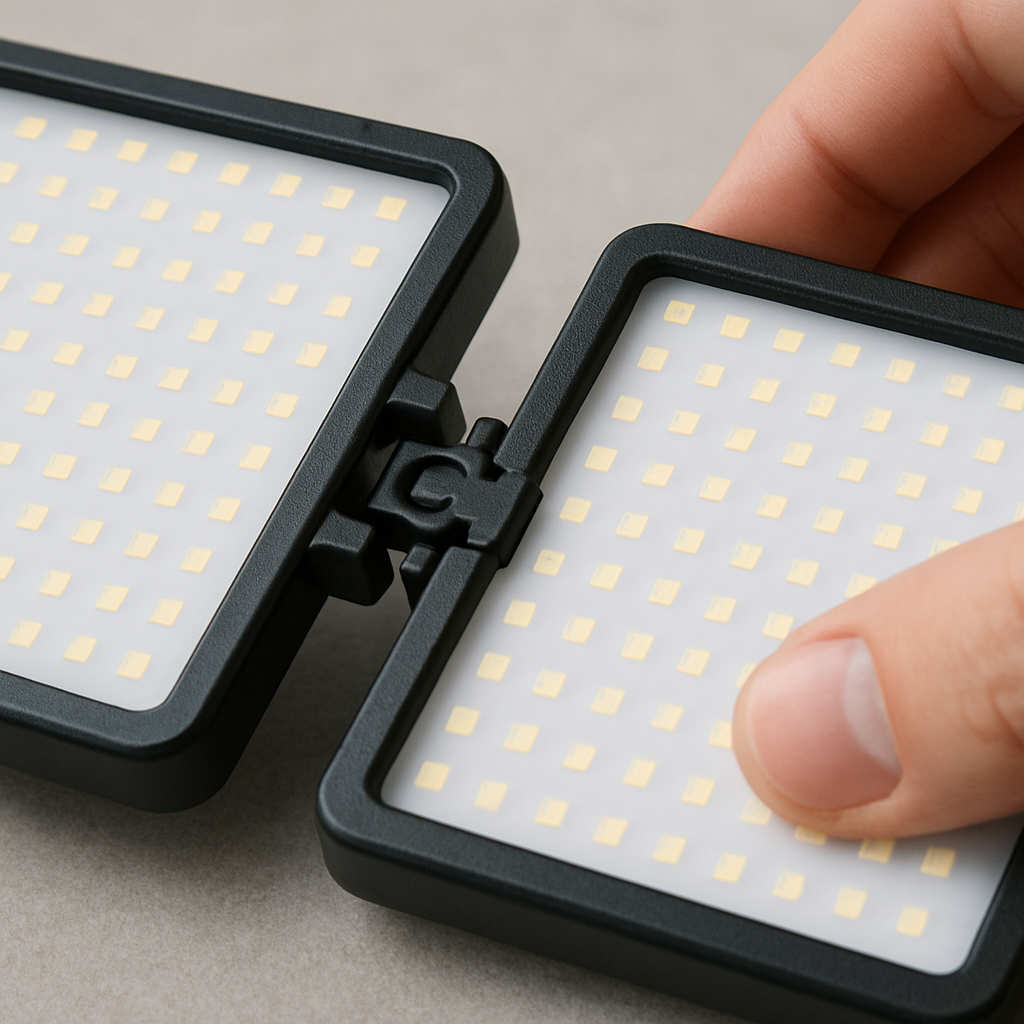
Have you ever stood too close to an old television and noticed the image breaking down into tiny colored dots? In the world of LED panel pixel pitch guide resources, avoiding this “screen door effect” is crucial for audience immersion. Pixel pitch, often written as a “P-value” (like P2.9 or P4.8), simply measures the distance in millimeters between each LED cluster on the wall. A lower number means the pixels are packed tighter together for higher detail, while a higher number spreads them out, which is significantly cheaper but requires the viewer to stand further back.
Choosing the right density isn’t about buying the sharpest screen on the market; it is about matching the hardware to your specific venue layout. If your guests are seated fifty feet away, paying for ultra-fine resolution is a waste of budget because the human eye naturally blends the pixels together at that distance. Conversely, a coarse screen looks blocky and distracting if the front row is practically touching the stage.
To ensure a crisp image without overspending, use this simple rule of thumb when calculating viewing distance for event screens:
- P2.5 (High Detail): Best for viewers 8+ feet away (Conference rooms).
- P3.9 (Standard Stage): Best for viewers 13+ feet away (Churches/Concerts).
- P4.8 (Budget Friendly): Best for viewers 16+ feet away (Large halls/Outdoor).
Once you have determined where your chairs will go, the next hurdle is ensuring the image remains visible under intense stage lighting or sunlight. A crisp resolution won’t help if the colors look washed out, which brings us to the vital measurement of brightness.
Sunlight vs. Spotlights: Why Brightness (Nits) Matters for Indoor and Outdoor Stages
Imagine dragging your living room TV onto a sunny patio; the picture becomes an unwatchable mirror. To prevent this on stage, we measure light output in “nits.” Standard indoor panels sit around 1,000 nits, but you need at least 4,500 nits to compete with the sun. Ignoring these brightness requirements for outdoor performances ensures your content vanishes the moment daylight hits the display.
Nature poses a threat greater than glare, so outdoor hardware requires specialized armor against the elements. This defense is measured by an “Ingress Protection” (IP) rating, with IP65 serving as the standard for resisting driving rain and swirling dust. Using unprotected gear is a gamble that usually ends in electrical failure, making the choice between indoor vs outdoor LED screens for events strictly about hardware survival.
Power becomes a double-edged sword at night, as a screen built to fight the sun will blind an audience in the dark. Modern systems use auto-dimming sensors to adjust intensity in real-time, keeping the visual experience comfortable. Managing these adjustments requires more than a remote control, leading us to the sophisticated processors and rigging hidden behind the wall.
Inside the Setup: Meet the ‘Brain’ and Rigging That Powers Your Display
Connecting a laptop directly to a 20-foot screen won’t work effectively; the image needs a translator to fit the custom shape. A video processor for live performances acts as the system’s “brain,” taking your standard HDMI signal and scaling it perfectly across hundreds of modular panels so the picture never looks stretched or cut off.
While your eyes see a steady image, a camera lens often detects distracting flickering lines. This is why a high refresh rate for camera-ready stages matters; a spec of 3840Hz ensures that every livestream feed or guest smartphone photo looks crisp and professional, avoiding those ugly scan lines.
Gravity is managed through professional rigging for large displays, which keeps these heavy walls secure. You will typically choose between “Flying” the screen from a ceiling truss for a floating look or using a “Ground Support” system to stack it safely on the floor if overhead suspension isn’t an option.
A complete setup requires a few key components beyond the LED tiles:
- Video Processor (Scales the image)
- Sending Box (Transmits the data)
- Cat6 Cables (Connects the components)
- Rigging Bars (Holds the weight)
These hardware configurations directly dictate the financial investment required for the project.
Budgeting for Brilliance: Navigating LED Wall Prices and Long-Term Value
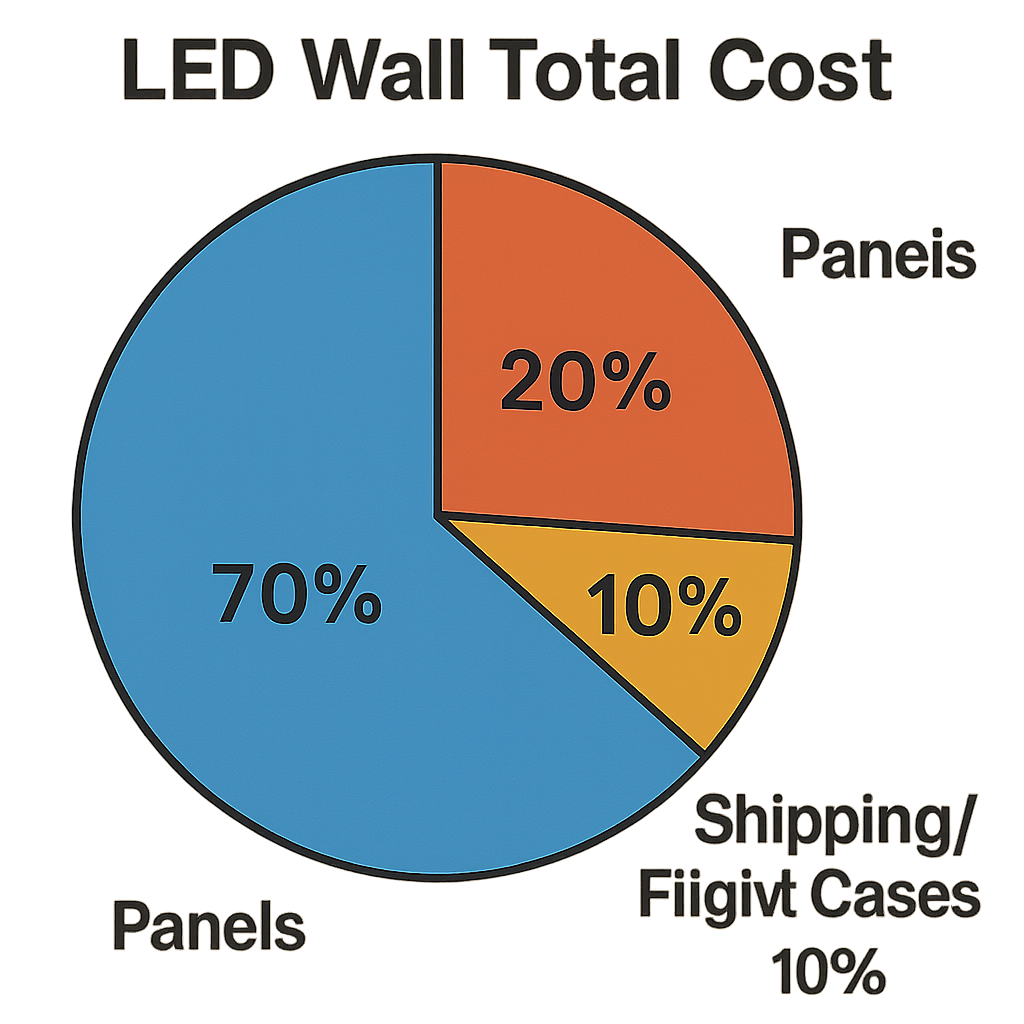
Resolution acts as the main driver of cost. The main factor in led wall panels price is pixel pitch; much like high-thread-count sheets, tighter pixel spacing requires more physical diodes, raising the expense. Often, a slightly wider pitch provides excellent clarity for seated audiences without breaking the bank.
Smart budget planning for large scale displays also requires accounting for the unseen essentials. You must include durable flight cases for protection and a 5% “spare parts” buffer to ensure future repairs match your specific color batch perfectly.
Deciding when to look for led screen panels for sale versus renting usually depends on your calendar. If you host more than four major events annually, purchasing typically offers a better return on investment than repeated rental fees. With costs calculated, we can move to the final installation steps.
Your 3-Step Action Plan for Choosing and Installing Your First Stage Video Wall
You no longer need an engineering degree to upgrade your visual impact. Whether you are consulting an LED panel pixel pitch guide for a permanent installation or planning how to install temporary event screens, you now possess the vocabulary to drive the conversation. The technology is no longer a barrier; it is your creative canvas.
Beat analysis paralysis with these three steps:
- Measure your audience viewing distance.
- Determine if the setup is Indoor or Outdoor.
- Request a ‘spec sheet’ from a vendor.
A stage video wall is a big investment, but you are ready. Ask the right questions and build an experience your audience won’t forget.
Contact us to customized your stage video wall. Ada: +86 137 2375 4264