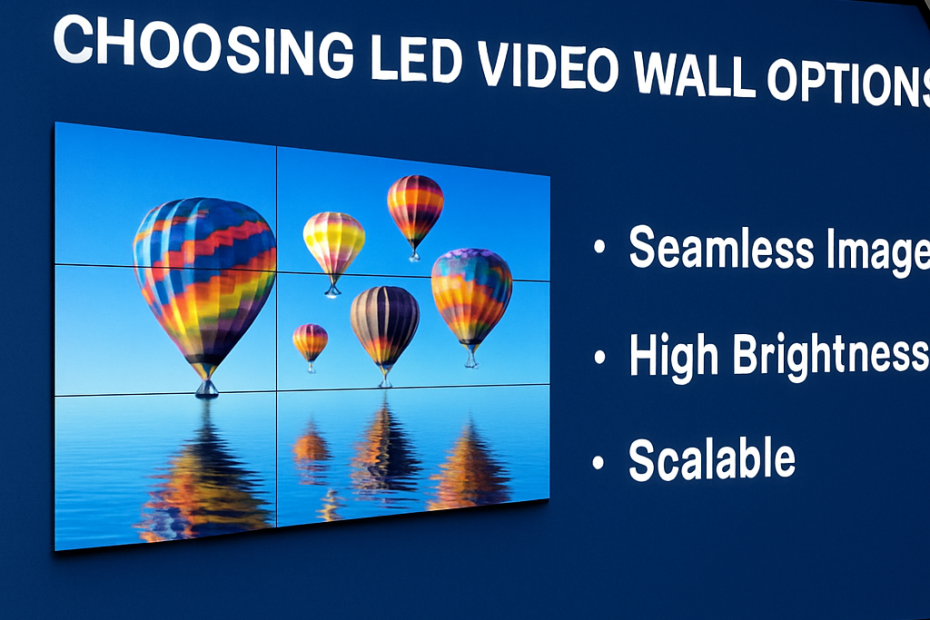
Businesses and organizations are increasingly using indoor LED video walls to create eye-catching displays and enhance visual communication. Whether you’re a retail store, corporate office, or event venue, installing an LED video wall can be a game-changer. But how do you go about setting one up? In this guide, we’ll walk you through the process of installing an indoor LED video wall in five straightforward steps.

The first step in installing your LED video wall is choosing the right one for your needs. You’ll want to consider factors such as size, resolution, and brightness.
Selecting the Best LED Screen Manufacturer
Finding a reliable LED screen manufacturer is crucial. Look for a supplier with a solid reputation, such as those based in the USA or Europe, where quality standards are typically high. Consider the manufacturer’s warranty and customer support services, which can be crucial if issues arise post-installation.
Understanding Your Space Requirements
Measure your indoor space to determine the size of the video wall you need. Consider the viewing distance and audience size to ensure optimal visibility. A professional LED video wall supplier can offer guidance on the best specifications for your specific locati0n.
Step 2: Plan the Installation Process
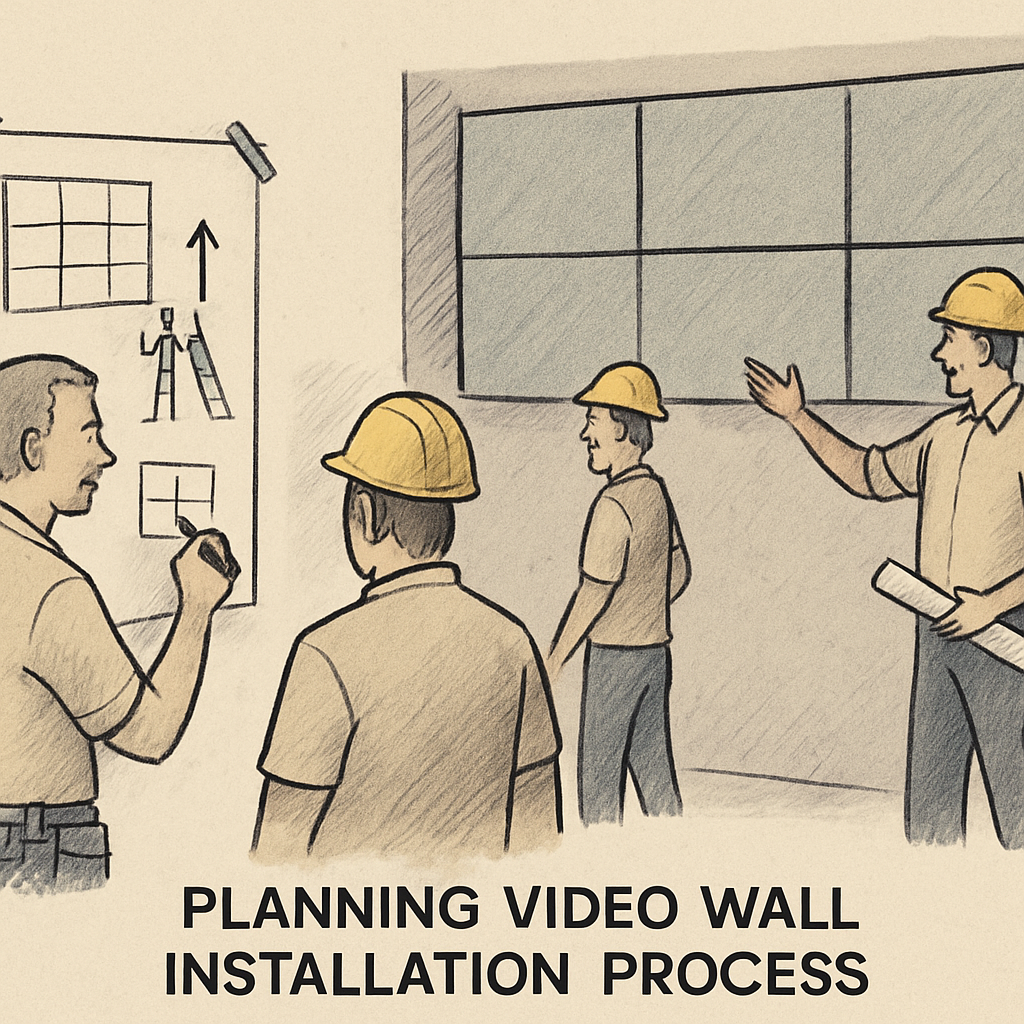
Once you have your video wall, planning the installation is the next step. This involves mapping out the physical layout and ensuring you have all the necessary equipment and components.
Mapping the Layout
Create a detailed plan of where and how the video wall will be positioned. This should include not only the locati0n but also the height and angle for optimal viewing. Ensure that the wall can support the weight of the video wall structure.
Gathering Equipment and Components
Check that you have all the necessary mounting brackets, cables, and connectors. It’s advisable to consult with a professional LED screen installation expert to ensure that nothing is overlooked.
Step 3: Set Up the Mounting Structure

The mounting structure is critical for the stability and safety of your LED video wall. Here’s how to set it up:
Installing the Mounting Brackets
Securely attach the mounting brackets to the wall using the appropriate hardware. Ensure that the brackets are level to avoid alignment issues later on. Use a spirit level to confirm that everything is straight.
Checking for Alignment
Before proceeding, double-check the alignment of the brackets. Misalignment can lead to uneven screen panels, affecting the display quality. This step is crucial for a professional-looking installation.
Step 4: Assemble and Connect the LED Panels
With the mounting structure in place, it’s time to assemble and connect the LED panels.
Attaching the LED Panels
Start by attaching the panels one by one to the mounting structure. Follow the manufacturer’s instructions carefully to avoid damaging the panels. Ensure each panel is securely fastened before moving to the next.
Connecting the Panels
Once the panels are attached, connect them using the provided cables. Ensure that all connections are secure and that there are no loose wires. Proper connectivity is essential for seamless image display across the entire video wall.
Step 5: Test and Calibrate the Video Wall

The final step in your installation is testing and calibrating the video wall to ensure optimal performance.
Powering Up the Video Wall
Turn on the video wall and check for any issues with the display. Look for dead pixels, color discrepancies, or connection problems. If any issues arise, consult the manufacturer’s guidelines or seek assistance from a professional installer.
Calibrating the Display
Use the manufacturer’s calibration tools to adjust the color, brightness, and contrast settings. Proper calibration ensures that your video wall delivers vibrant and consistent visuals, enhancing the viewer experience.
Additional Tips for Successful Installation
- Professional Assistance: If you’re unsure about any part of the installation process, consider hiring a professional installer. Their expertise can save you time and prevent costly mistakes.
- Regular Maintenance: Schedule regular maintenance to keep your LED video wall in top condition. This includes cleaning the panels and checking connections.
- Software Updates: Keep your video wall software updated to benefit from the latest features and improvements.
Conclusion
Installing an indoor LED video wall can transform how you engage with your audience, whether you’re looking to captivate customers in a retail setting or impress clients in a corporate environment. By following these five simple steps and collaborating with a reputable LED video wall supplier, you can ensure a successful installation that meets your specific needs.
Remember, the key to a seamless installation lies in careful planning, precise execution, and ongoing maintenance. With these elements in place, your LED video wall will be a stunning centerpiece that enhances your space and communicates your message effectively.