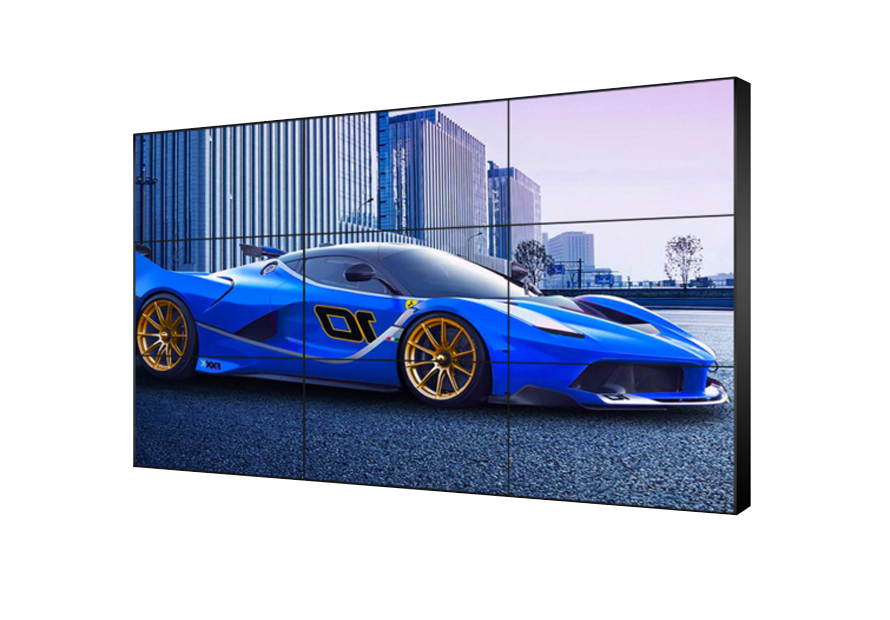
Think about the mental energy spent tracking down a permission slip or a client’s schedule buried under a chaotic layer of fridge magnets. Psychologists often cite this type of visual noise as a hidden source of daily stress, distracting us from more important tasks. A wall mounted information display acts as a “digital picture frame that grew up,” replacing that paper clutter with a sleek, centralized command center.
Functionally, these digital wall displays operate just like a favorite app on a smart TV. Rather than streaming a movie, the screen remains focused on a dashboard that updates itself automatically. By creating a single digital signage wall for your family or team, you eliminate manual updates and establish a reliable source of truth that keeps everyone informed at a glance.
Commercial Monitors vs. Home TVs: Choosing the Right Screen for 24/7 Use
While grabbing a spare bedroom television seems like a cost-effective menu board setup, standard TVs aren’t built for marathon sessions. Consumer electronics are designed for a few hours of movies in the evening, not running 12 to 24 hours straight. Pushing a standard TV this hard often leads to “burn-in,” where static images like a calendar grid or a company logo leave a permanent, ghostly outline on the screen.
Visibility is another major factor, especially if your wall faces a window or harsh overhead lights. Professional screens measure brightness in “nits”—a standard TV might hit 250 nits, but you generally need 500 nits or more for the best screen brightness for bright rooms. Furthermore, commercial displays usually feature a matte finish to absorb reflections, whereas home TVs use glossy glass that turns into a distracting mirror the moment the sun hits it.
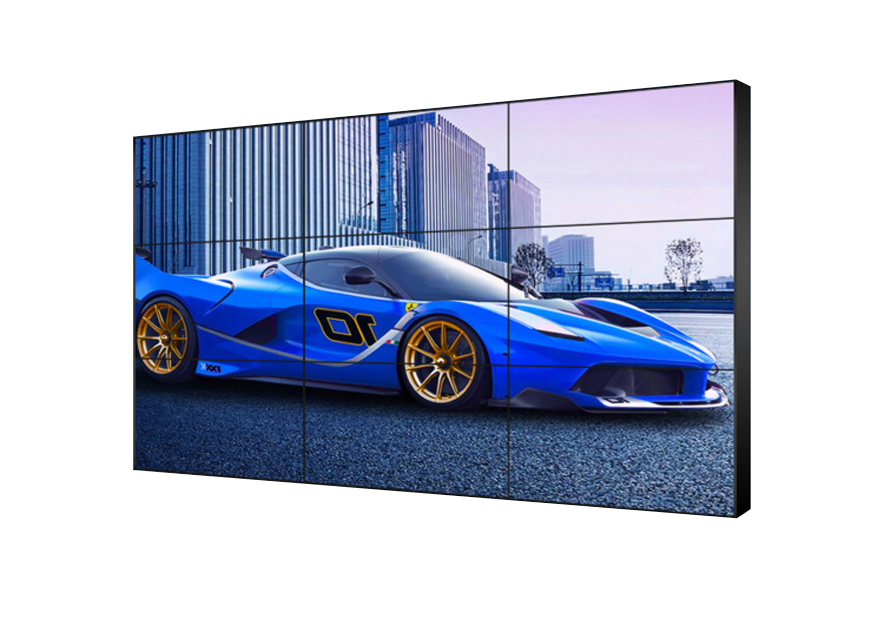
If you are deciding between a commercial grade display vs consumer tv, check these three critical specs before buying:
- Cooling Systems: Commercial screens have heavy-duty ventilation to prevent overheating during all-day use.
- Warranty Terms: Most home TV warranties are voided if used for business, while commercial policies specifically cover “always-on” usage.
- Brightness Levels: Commercial units offer higher output to ensure your text is readable even on sunny days.
Once you have selected the right hardware, the next challenge is ensuring it stays securely on the wall.
Perfect Placement: How to Mount Your Display for Maximum Visibility and Safety
Flip your screen around, and you will see four screw holes arranged in a square pattern on the back panel. This is your VESA mount compatibility guide; these numbers (like 200×200) represent the distance in millimeters between holes and ensure you buy a bracket that actually fits your specific display. Learning how to mount a commercial monitor for visibility involves more than just height; consider a bracket that allows a slight 5-degree downward tilt. This simple adjustment is the secret to reducing glare on digital notice boards from overhead lights while keeping text sharp for viewers standing below.
Safety is just as critical as visibility, particularly in hallways or narrow lobbies where people walk past quickly. To prevent accidents and meet standard ADA accessibility guidelines for digital signs, ensure the mounted screen does not stick out more than 4 inches from the wall if the bottom edge is lower than 80 inches. Before drilling any holes, run through this 4-step mounting safety checklist:
- Locate the Wall Stud: Always anchor into a wood or metal stud rather than relying solely on drywall anchors.
- Match VESA Size: Double-check that your bracket’s bolt pattern aligns perfectly with the screen’s back panel.
- Check the Level: Even a 1-degree slant looks unprofessional, so verify horizontal alignment before tightening.
- Verify Height: Aim for eye level (about 60 inches from the floor) for content meant to be read up close.
With the physical installation complete and the screen securely on the wall, the next step is determining what to actually display.
The Brain Behind the Screen: Using Simple Software to Control Your Message
A screen remains a black mirror until you give it instructions. While plugging a USB drive into the TV works for looping images, that method becomes frustrating the moment you need to update a price or photo. To truly unlock the display’s utility, you need a “brain” called a Content Management System (CMS). Think of this digital signage software for business like a remote control for your content; you create the message on your computer, and the software ensures it appears on the wall without you ever leaving your chair.
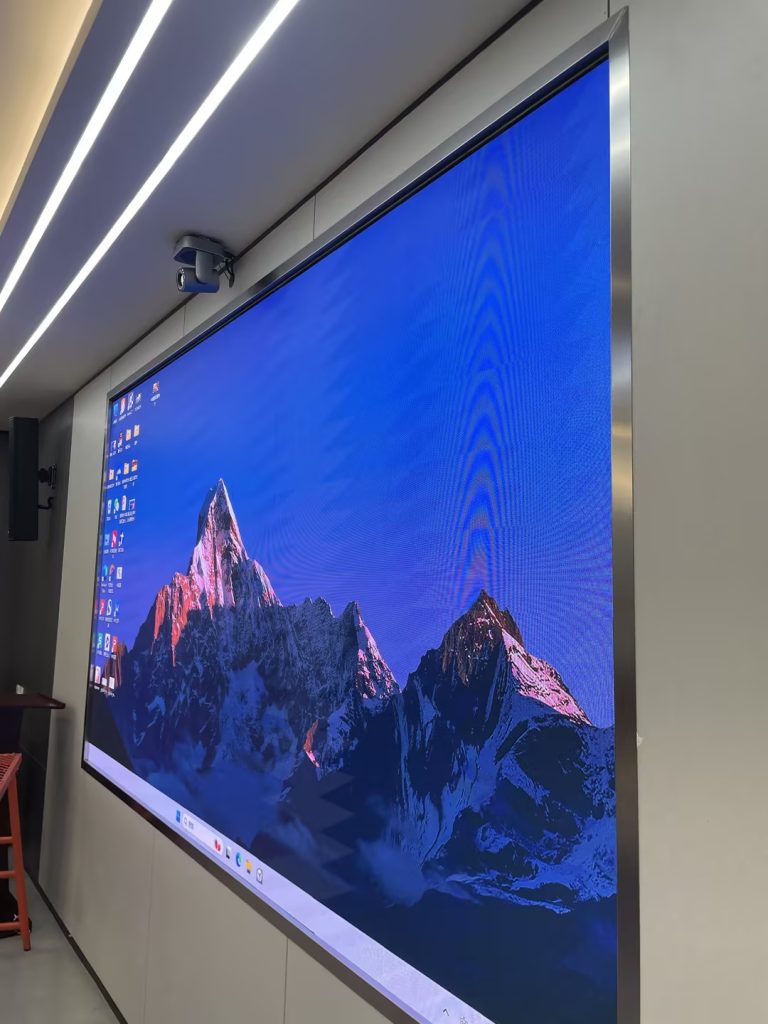
Modern solutions rely on a cloud-based content management system that operates much like a streaming app. You log into a website, upload your new menu or announcement, and the screen updates instantly via Wi-Fi. This capability is essential for optimizing content for lobby messaging, allowing you to fix typos or welcome a client from your desk. You no longer need to touch the physical hardware to change what people see, turning a static monitor into a dynamic tool.
The software also handles real-time data integration for office screens automatically. By linking your Google Calendar or weather app, the display refreshes itself throughout the day so you never look at outdated information. Most systems even include smart scheduling to power the screen down at night, saving electricity and extending the panel’s lifespan. With your content streaming smoothly, the final step is ensuring the physical installation looks as polished as the digital one.
The Professional Finish: Hiding Wires and Powering the Panel
Nothing detracts from a sleek installation faster than a messy “waterfall” of dangling cords. To achieve a gallery-quality look, you must plan for hiding wires for digital wall panels before you hang the screen. The gold standard is installing a recessed outlet box directly behind the mount; this allows the bulky plug to sit inside the wall so the display rests flush against the surface like a framed painting. If cutting into drywall isn’t an option, paintable cord covers offer a tidy compromise by camouflaging the line against your existing wall color.
For a streamlined setup that reduces cable bulk, consider using Power over Ethernet for electronic displays (PoE). This technology delivers both electricity and internet connection through a single, thin network cable, eliminating the need for a traditional power brick behind the screen. Choose the method that fits your DIY comfort level:
- Recessed Wall Kits: Best for a completely wireless, “floating” look.
- Paintable Raceways: Easiest solution for renters or brick walls.
- PoE Adapters: Ideal for combining power and data into one discreet line.
With the hardware secure and the software running, you are ready for the final launch steps.
Your Five-Step Checklist to Launch Your First Wall-Mounted Display
Transforming a chaotic hallway or lobby into a streamlined command center is easier than it looks. Investing in durable, professional-grade screens rather than standard consumer TVs ensures your wall mounted information display runs reliably for years, while clearing away the visual clutter of paper calendars gives you immediate peace of mind.
Here is your Saturday morning action plan:
- Measure your designated wall space.
- Purchase a high-quality VESA bracket.
- Select a user-friendly CMS app.
- Locate wall studs and securely install the mount.
- Sync your first simple calendar or menu slide.
The most intimidating step is often drilling that first hole, but you have the tools to handle it. Start with basic schedules to build confidence before adding complex data. Once your digital wall displays are glowing, you will wonder how you ever managed without that automated clarity.
Founded in 2008, ScreenSculpt is a premier Chinese digital signage factory specializing in commercial display products and solutions. contact us: +86 137 2375 4264